Every planning system is a hybrid system at some degree. Digital for some tasks, paper for others. The exact balance is up to personal preference.
My wife’s system uses paper as much as possible. She likes the tactile familiarity. My system is mostly digital, but I have a paper-based 43-folder tickler system. We use digital calendars, but we both use a paper planner to run our day.
And that’s where it starts to get interesting. We want to keep old planners for reference, but neither one of us wants to dedicate that kind of shelf space to storing old planners.
The point of a hybrid system is to let digital and analog each do what they do best. When it’s time to archive the planner, it goes digital. This lets us keep old planners around without sacrificing shelf space.
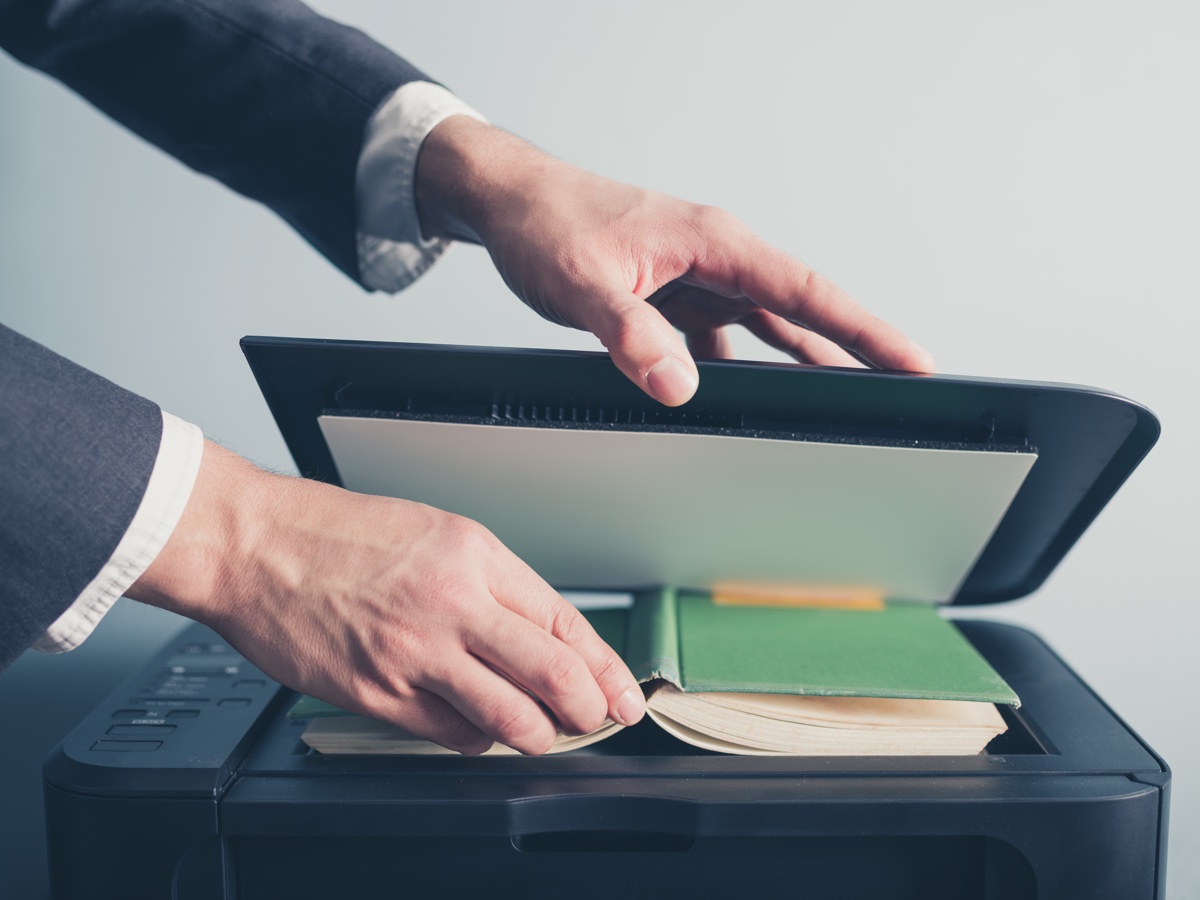
Here’s how to scan your paper planner so you can archive it digitally.
- Select the scanning profile. There are multiple knobs you can adjust to reduce the size of the PDF, including resolution, color depth, and compression. We use 150dpi color for her Franklin (she likes bright floral designs, and I don’t want to lose that when they’re scanned—call me sentimental). My FFP pages get by just fine with 150ppi grayscale. I could probably drop that down to black-and-white, but I like how the scans turn out in grayscale. Scan a couple of pages with lots of writing as a test, but don’t spend more than 5 minutes tweaking the settings.
- Prepare it. Some tips:
- If you haven’t been filling out the index as part of your daily or weekly reviews, fill it out now. It’s going to be a handy summary of what’s in the file.
- Write the month or quarter at the top of the index, like “Jan 2026” or “2025Q4”. This helps the date stand out at a glance.
- Redact any information you don’t want scanned.
- Scan it. This is where a dedicated document scanner comes in handy. You can drop an entire month of Franklin’s two-per-day pages into a ScanSnap S1500, push go, and watch it scan a month of your life into a PDF. (Almost—you need to run the monthly tab through sideways. But it’s close.) It can’t handle an entire quarter of the FFP at once, so you’ll need to feed it more pages as it goes.
- Touch it up. Open the scanned document in Preview (or your PDF editor of choice) and check the results. This is where I usually find a couple pages that need turned right-side-up, including pages that are sideways in the planner by design. That index page? Move it to the front.
- Name it. Name the file “2026-01 January” or “2025Q4”. This gives the correct sorting while still making it easy to scan through a list of files to find the right one.
- File it. Now comes the hard decision: Where are you going to store the files? While cloud services offer ubiquitous access, these aren’t small files and they’ll start to add up. I keep the last year on a cloud service before moving rotating the archives to “cold storage” on our iMac at home. I will point out that if you have a paid Evernote plan, it indexes handwriting inside of PDF files…
There you have it. What started as a stack of paper in your planner has turned into a digital PDF that’s much easier to store. Now shred and/or toss the original pages and make better use of that shelf space.
It can be hard letting go of such a beloved friend. Your planner represents your hopes, dreams, and aspirations. It has recorded every valiant effort, every packed day, and every time our reach exceeded our grasp. On those parading pages, you’re writing the book of your life.
Just remember you’re not getting rid of them. Sure, it’s fun to pull them off the shelf, flip through them, and reminisce. But they’re collecting dust. Their precious contents are trapped. By scanning them, you’re transforming them so they can continue to serve you well. They are still a part of your trusted system; they just play a different role now.
Question: If you use a paper planner, what do you do with it when you’re done? Share your thoughts in the comments, on Twitter, LinkedIn, or Facebook.

