

A large part of going paperless means replacing tree-based paper with digital paper—PDFs. They take less space to file, are much more searchable, and don’t cause paper cuts.
OS X has great built-in support for working with PDFs. Any application that can print can create a PDF. The built-in Preview app is a great tool for marking up PDFs. Safari has built-in support for viewing PDFs, so you don’t need to install a plugin. Even iBooks will let you add PDFs to your digital bookshelf.
One trick that will really streamline your digital paper workflow is to take a PDF from one application and immediately open it in another app. Here’s how.
The starting point is a menu inside of every print dialog. You may never have noticed it, or you may have peeked at it and wondered what it did.
This menu is called the PDF Services Menu. When you select an item from this menu, a PDF is created in a temporary location and opened using the selected service. Services usually either open a PDF in an application, save it to a specific folder, or do more advanced processing.
There are three ways you can add items to this menu, depending on how fancy you want to get.
1. The Trivial Way
The easiest way to add an item to this menu is through the UI. The last menu item is Edit Menu…. Here, you can see the custom services that are available to just you, and not other users on the computer.
To add an item, click the plus button. You can select any application that will open a PDF. You can also select any folder, so you can quickly send files to the Desktop, Dropbox, or a shared folder. You can rename any of these items by clicking on the name.
2. The Still Pretty Easy Way
In the Finder, open up ~/Library/PDF Services. Look familiar? These are the user-level services available. (There are more in /Library/PDF Services that are available to all users on the computer.)
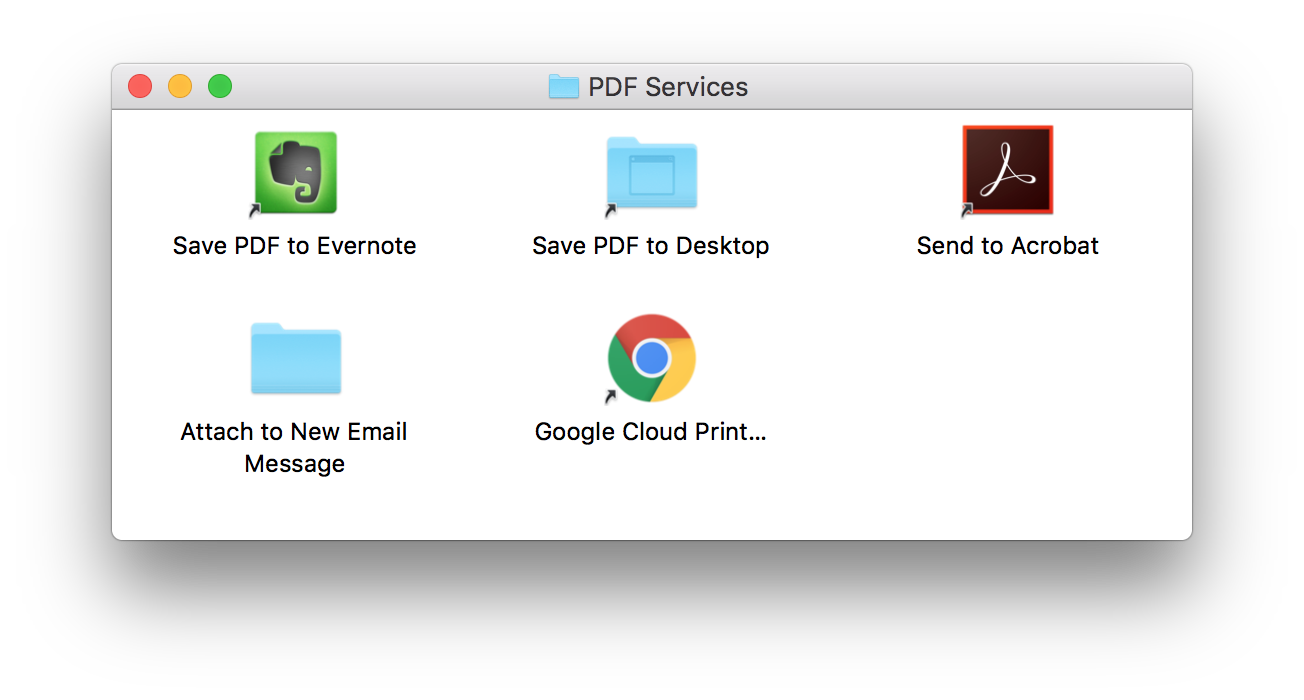
You’ll notice that most of these services are just symlinks to applications and folders on the computer. When you add a service through the UI, that’s all it’s doing—creating a symlink. You can add anything to this folder that you can drop a PDF onto, and it will show up in the PDF Services menu.
Pro tip: You can put nested folders in here.
3. The Not As Easy Way
One of the document templates in Automator is a Print Plugin. When you save this document, it’s saved in ~/Library/PDF Services. It’s just a workflow that accepts a PDF document as input.
With a custom Print Plugin, the entire power of OS X automation is available. If you can script it, you can do it automatically when you create a PDF. The sky’s the limit.
The custom services I use most in this menu:
- Save to Evernote. I usually use this for receipts, but in any application, I’m only one print command from keeping a permanent copy in Evernote.
- Save to Desktop. You can do this in two steps by saving a PDF and selecting the Desktop, but I do it frequently enough that I wanted a one-step solution. Add a shortcut to the Desktop to the menu to have PDFs exported there in one click.
- Print using Google Cloud Print. Do you use Google Cloud Print? Add Chrome as a PDF service. It’s not quite native support for printing through the cloud, but it feels pretty close.
- Send to another computer. Create a droplet using Panic’s excellent Transmit. Export a PDF directly to another computer, another user, or a server.
- Open in Acrobat. Preview handles most editing tasks, but for some things, I need Acrobat. As a PDF service, the handoff is as smooth as a print preview.
Scripting a PDF workflow quickly pays for itself in increased productivity. You reduce tedious repetition, you can go from one step to the next without getting distracted, and you reduce the number of temporary files laying around that you need to clean up. Win-win-win.